Look up at the top of your browser window. See that green lock? Depending on your browser, it might also say “Secure” or the business name next to it. This also means the URL will start with https://, instead of http://. The ‘s’, naturally, stands for ‘Secure’. If you see this on a website, you can rest easy knowing that the connection between your computer and the website is encrypted using a technology called SSL (Secure Sockets Layer). When you see that green lock, your internet service provider as well as outside hackers will be not able to see any thing you enter, any form you submit, or the details of any credit card payment.

Although website encryption like this has existed for a long time, only recently has the demand and need for privacy and anonymity on the Internet, especially with the pending death of net neutrality, pushed a movement to convert all websites to use SSL. Thankfully, what was once a pricey option available primarily to e-commerce stores is now an inexpensive (and sometimes free, if you know what you’re doing) solution that every website should implement.
No, it’s not mandatory, and there are ways around needing it even if you accept credit cards, but it’s also really not that expensive. For the more tech savvy, if you’ve done everything else with WordPress thus far yourself, there are no shortage of instructions all over the web and most large web hosts have a guide on their site. For everyone else, contact your tech person (hopefully us) and they can likely install it for you.
Remember, practice safe web browsing! If your instincts about a site or email are telling you it’s fishy, don’t trust it, even if you see the green lock.
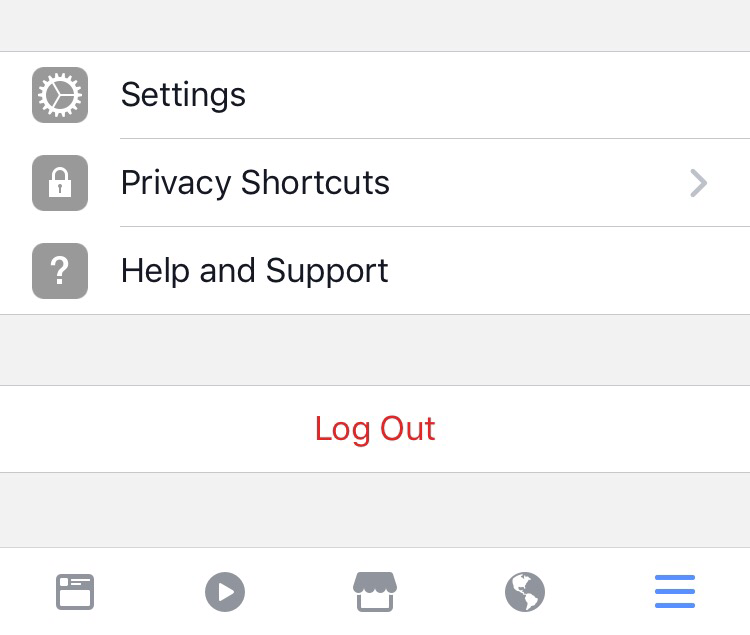
 Before we get started, you might need to know how to access settings.
 This handy little setting will show you a list of devices that are authorized to access your account without additional verification. Examples would include your smartphone, tablet, and possibly your computer. If you see any devices at all on the list that you aren’t familiar with, don’t own or can’t remember verifying, click the ‘X’. This will remove that device from the approved list and require that device to be re-verified.
 This list is likely going to be a bit longer, and will list anywhere that you’ve logged in to Facebook and never logged back out. Clicking the X will automatically log that device out of Facebook next time it tries to access it, so go through the list and make sure nothing looks fishy. When looking at it, try to figure out which device might be your current cell phone, computer, etc, and try to remove any old, dead, or donated devices. Worst case scenario, you just have to log back in next time you use it.
 Mobile storage is at a premium, so this handy little trick can definitely help. Any time you click a link in Facebook on your phone, it saves a few files (called a “cache”) to help that page load faster next time. Navigate to the Browser Settings and click the big ‘Clear Data’ button to remove all of these temporary files and buy back a bit more storage for your phone.
 Autoplaying videos as you scroll or load a page should be a capitol offense on the Internet. It needlessly uses data that most people don’t have to spare, can slow down older or less powerful mobile devices, and, frankly, is annoying. Alas, Facebook still enables it by default. Thankfully, they allow you to turn it off completely, only auto-play when you’re connected to wi-fi (to save on mobile data), or leave it on all the time (the default).